Tutorial: Pillowcase with invisible zipper
A new pillow doesn't have to break the bank.
Or take forever.
Actually, a pillowcase is one of those projects that are nice, easy and fun - and you’re done before you know it! It’s also a great way to use your fabric remnants. And let’s be real: Who wouldn’t love a matching pillow/dress situation?
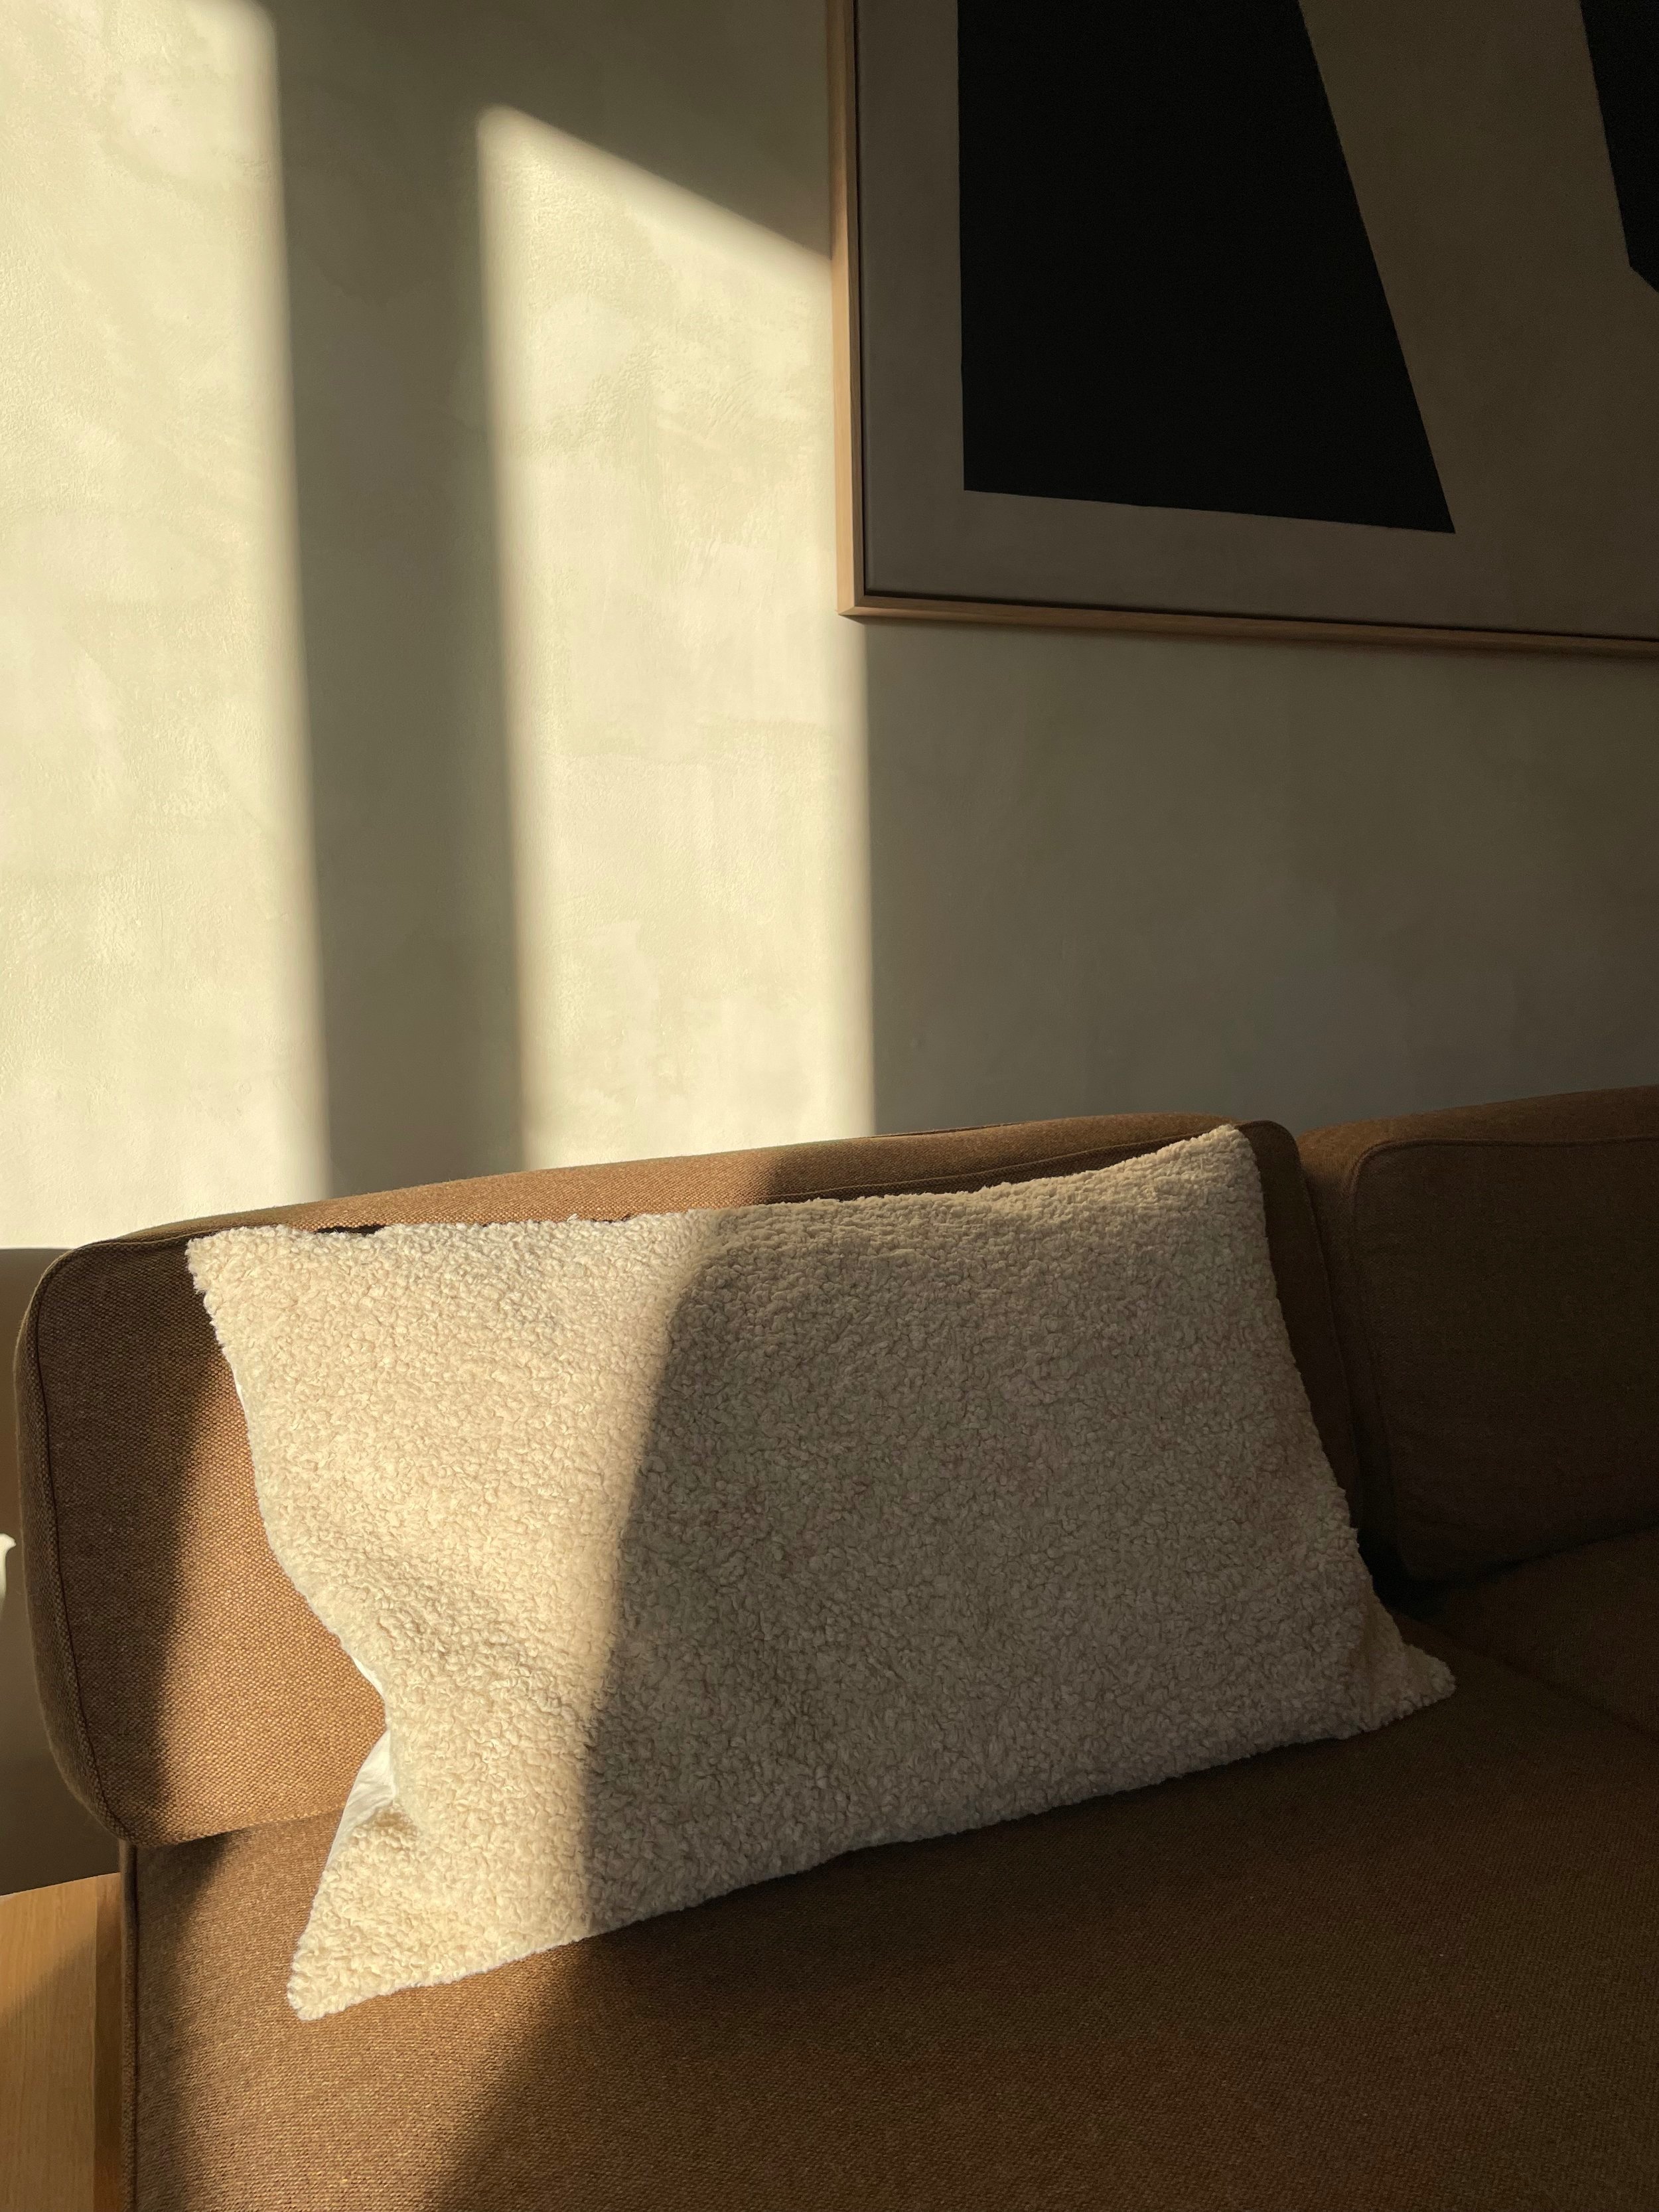
Cute pillowcase I made from some leftover teddy and cotton fabric
What do you need to sew a pillowcase?
For this project, you’ll need:
A pillow (I’m using a 40 x 65 cm pillow)
A sewing machine
Fabric
Matching thread
Pins
Scissors
A ruler
An invisible zipper (50 cm)
Which fabric should you use?
You can use almost any fabric for your pillowcase, though some very light fabric might not last long.
If you don’t already have some fabric in your stash, look for cotton, linen, teddy, canvas, corduroy, wool, muslin etc.
For this project I used teddy for the front and cotton for the back. It’s a combination I see everywhere in Danish design stores right now, and I think it looks absolutely amazing!
Is this a beginner project?
Yes, this is definitely a beginner project!
If you’ve never installed an invisible zipper before, it may seem tricky. But no worries! In this tutorial there are detailed descriptions and photos of each step.
How to sew a pillowcase with an invisible zipper
First, measure your pillow, if you don’t already know the measurements.
For this tutorial, I’m using a 40 x 65 cm pillow.
If you want to make a snug, tight pillowcase, you should cut the fabric in the exact measurements of your pillow + seam allowance (I like to use 1 cm seam allowance).
However, for this teddy pillow I wanted a more loose, slouchy look, so I added 2 cm to each measurement + 1 cm seam allowance.
I then cut my fabric after these measurements (43 x 68 cm).

Cut the front and back the same size. In this picture one looks smaller, but they were actually the same size.
Now place one part of the invisible zipper along the right side of the back. It should be centered.
I’m using a 50 cm zipper, which left 8 cm to each side.
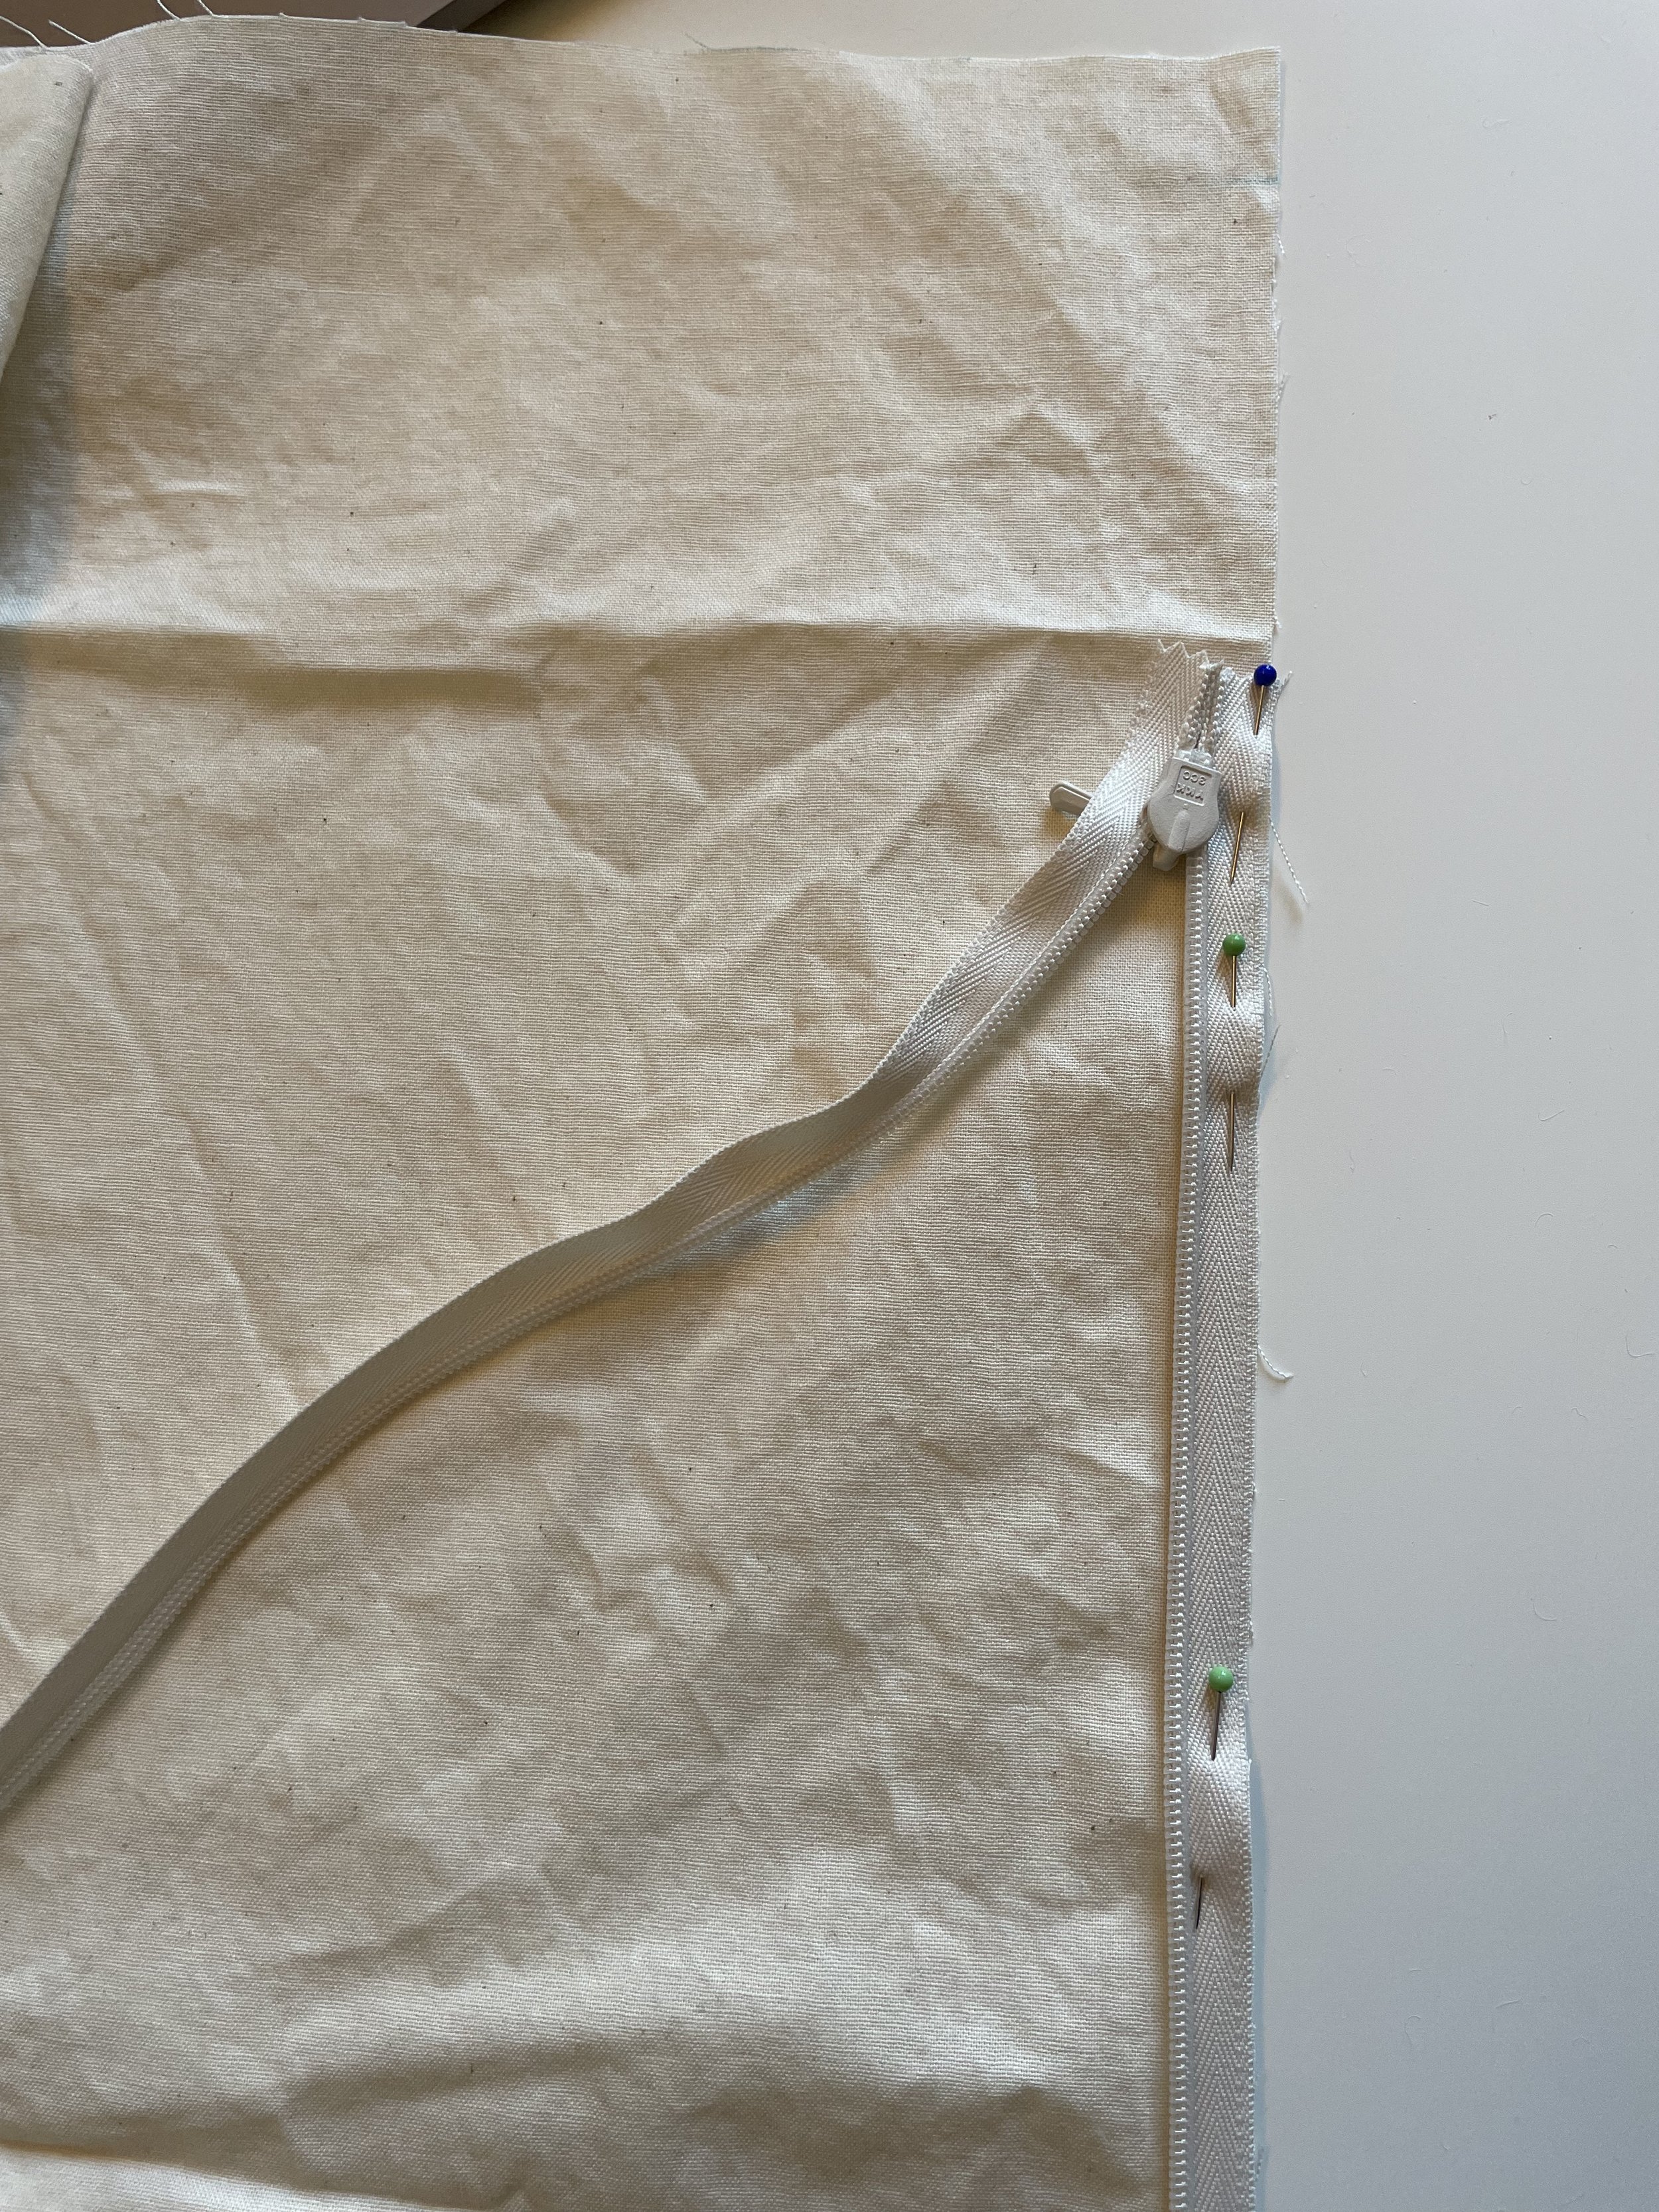
Pin the invisible zipper to the right side of the back piece
You can use an invisible zipper foot when sewing your zipper, but I don’t own one, so I’m just using my regular zipper foot. It works like a charm.
Make sure to place the needle close to the teeth of the zipper without actually hitting them with your needle.
Sew along the entire length of the zipper.

Using a zipper foot, sew along the length of the zipper.
Now it’s time to sew the other part of the zipper to the front piece.
I like to lay my front piece right side up on the table. Then put the back piece right side down on top (so right sides are together), and then without twisting, pin the zipper to the front piece.

Place front and back right sides together and pin the other part of the zipper to the front piece

Sew the invisible zipper on the front piece
Since I’m using teddy here, it’s the most invisible invisible zipper, I’ve ever installed.
I’m super happy with this result!

This is invisible zipper goals, I’m so excited!
Now, let’s pin the front and back right sides together all the way around and sew from one end of the zipper to the other.
When I start and finish at the ends of the zipper, I like to make sure that everything is nicely sewn. Place your fingers on each side and feel where the zipper ends. Sew as close as you can without hitting the zipper.
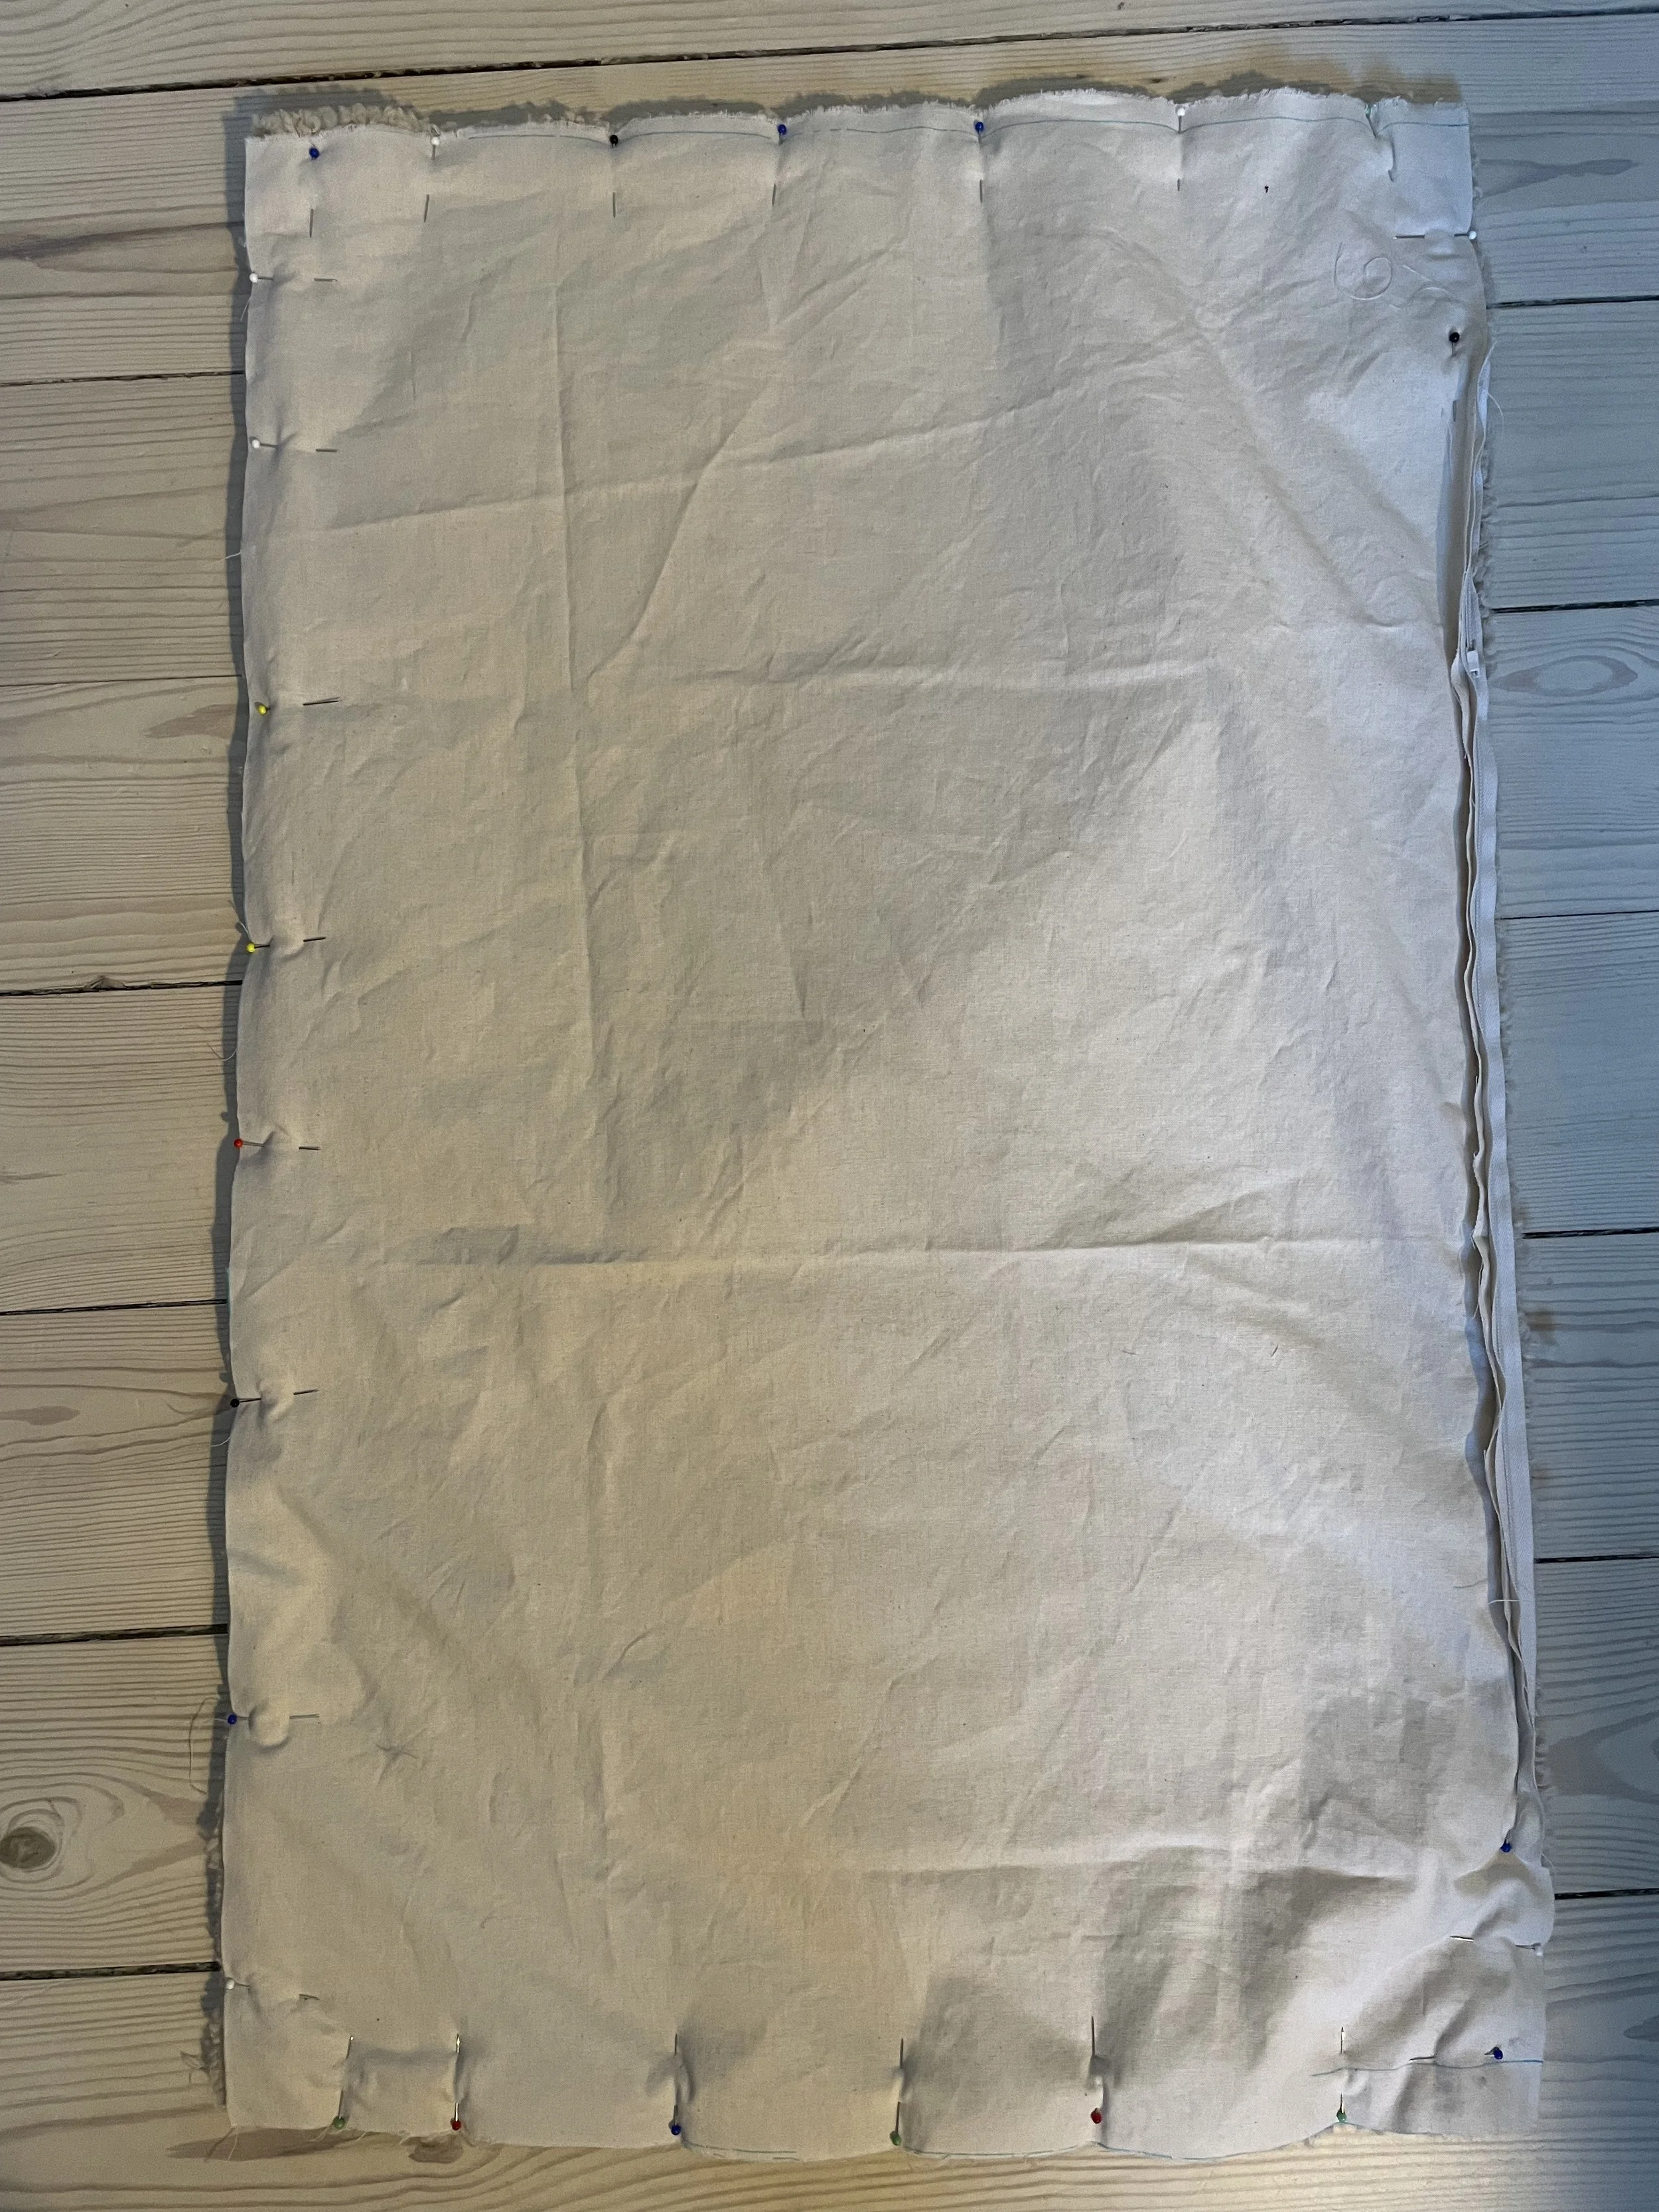
Front and back pinned right sides together


Make sure everything is nice and secure, and then sew as close to the zipper as you can - without sewing over it.
Wow, you’re almost done!
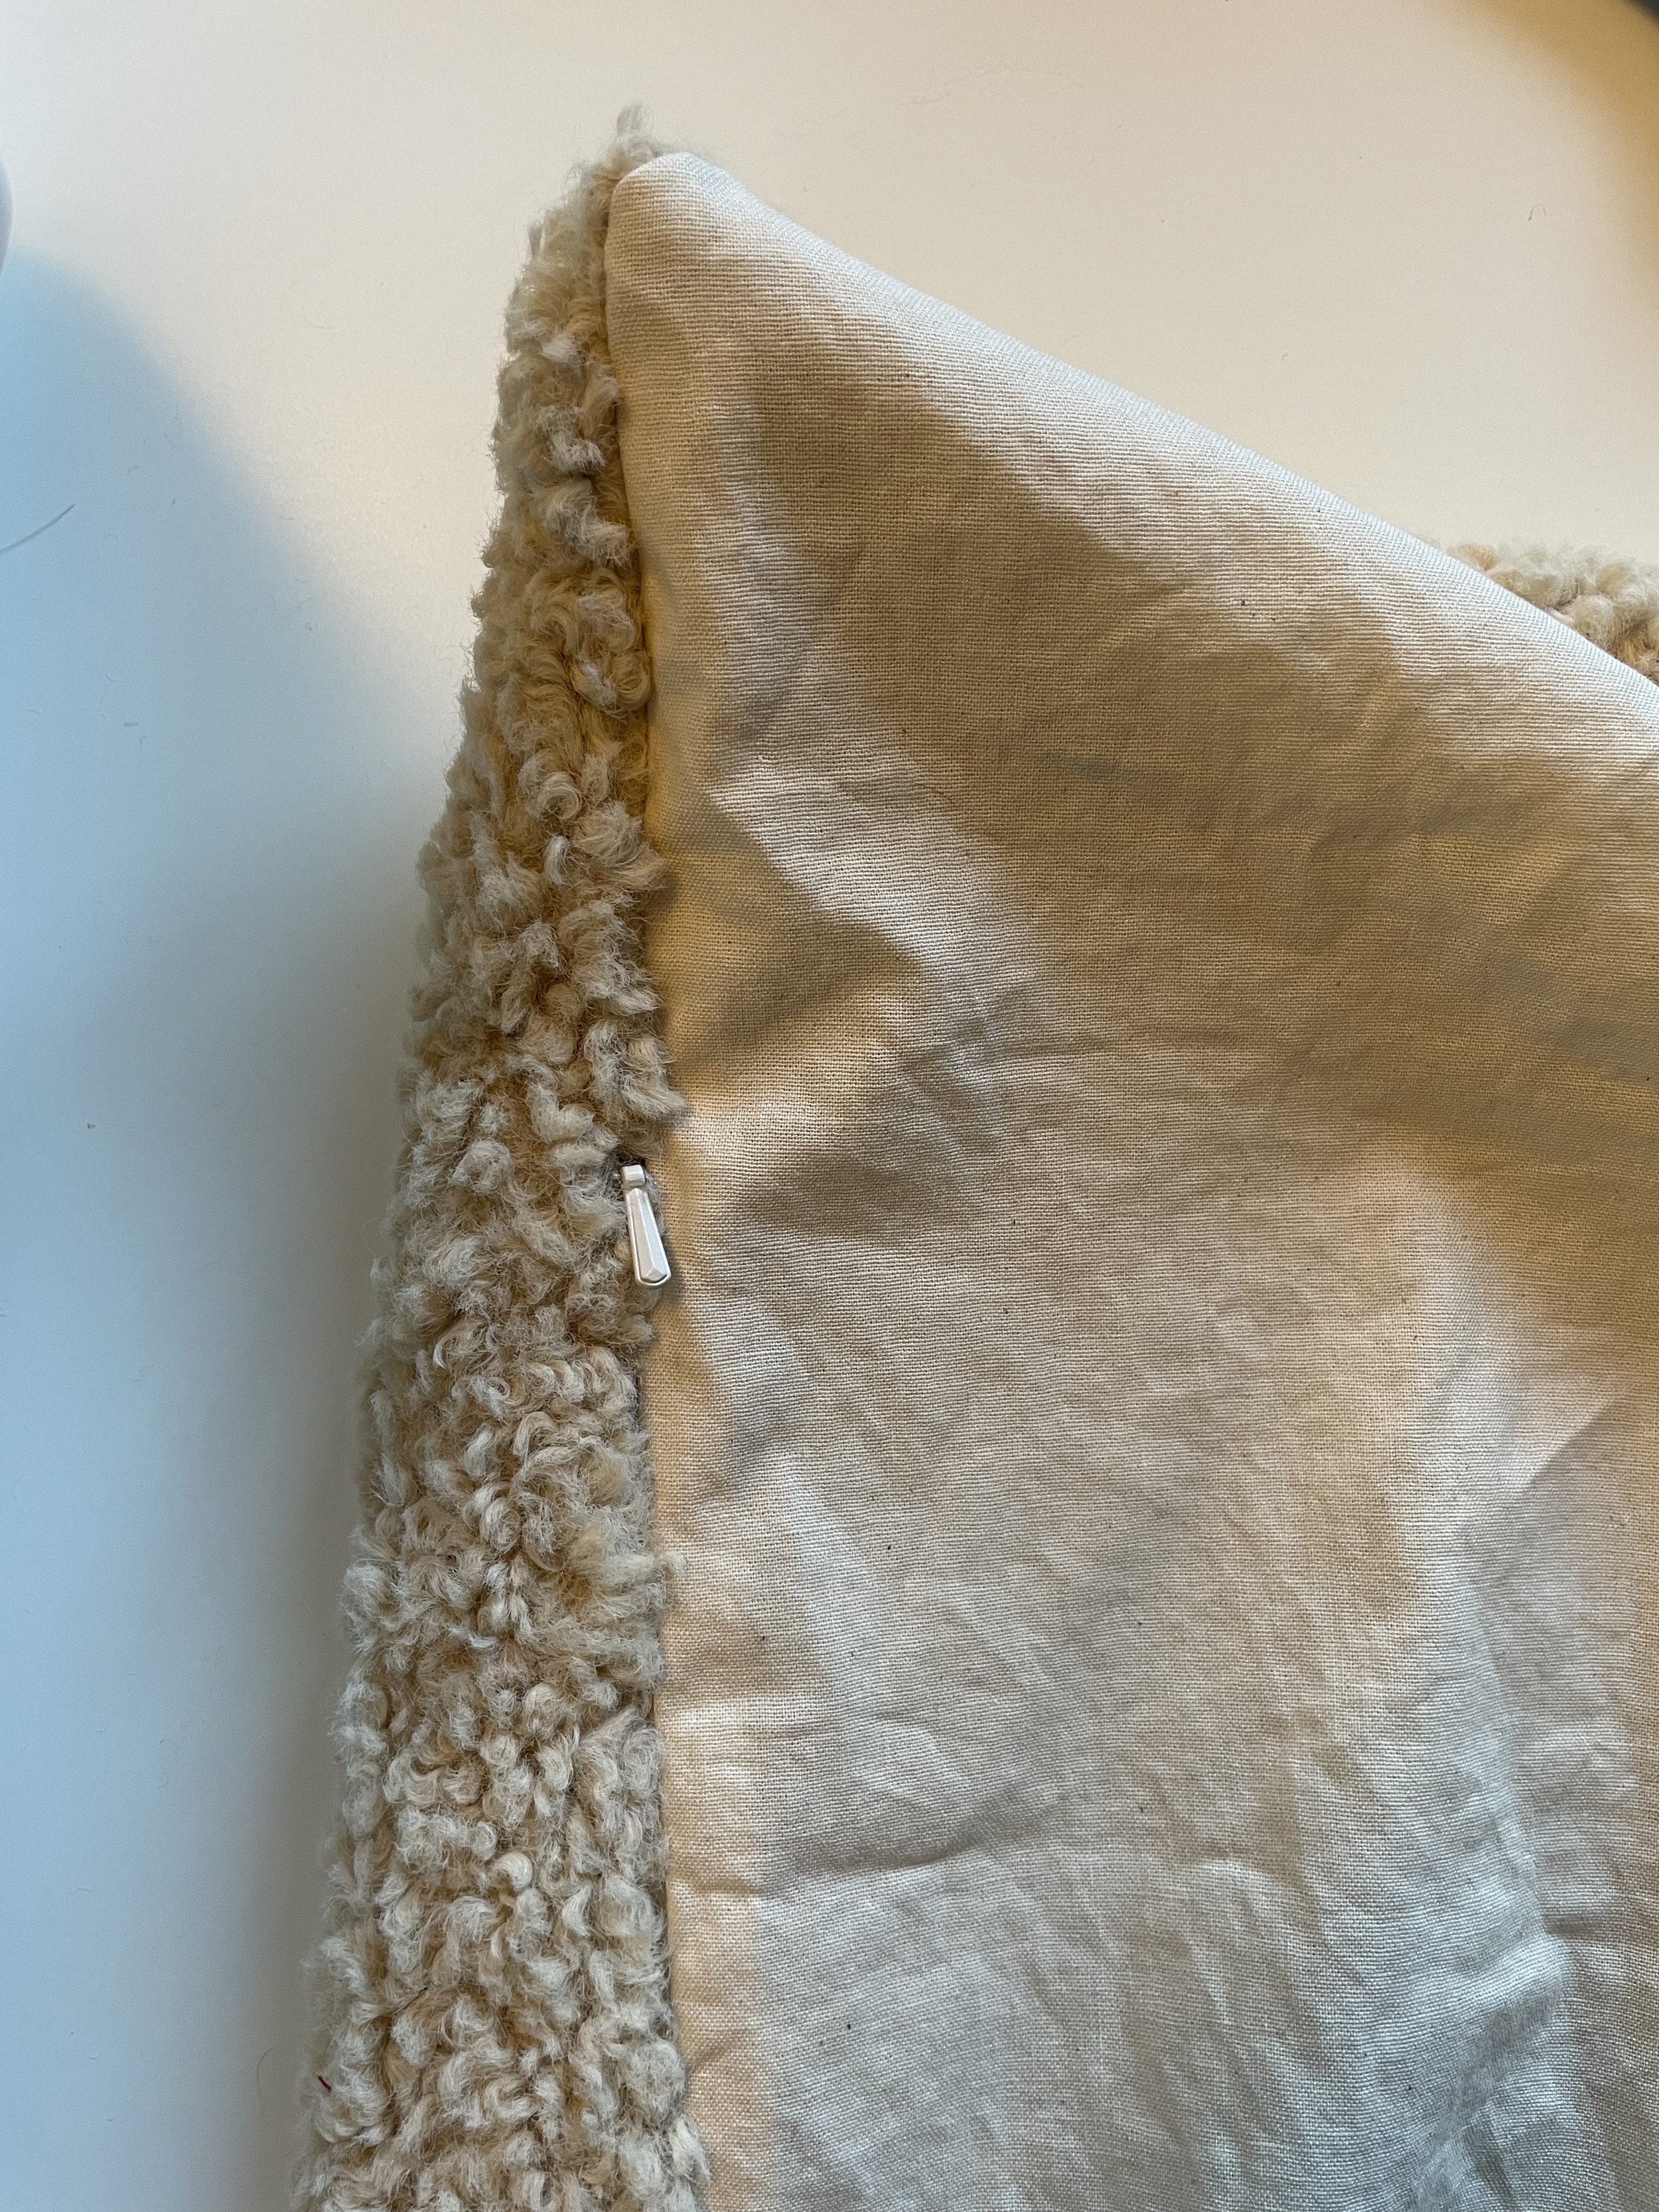
Before you turn the pillowcase right side out, clip the corners.
This will make the corners look much better - but be careful not to cut into your stitching!

Clip the corners without cutting your seam
All there’s left to do is turn your pillowcase right side out, get your pillow in and close that beautifully sewn invisible zipper.
And yay, you’re done! Good job!

The finished pillowcase
Look at that little zipper head peeking out from its hiding place in all that teddy!

Love this big, slouchy pillow in our living room.
I really hope you liked this tutorial and found it useful!
Please let me know in the comments, if you have any questions or you want me to do other tutorials on specific projects!
Love,
Laura.