Vogue 1620: Jacket and pants

In a couple of months I’ll return to work after my maternity leave ends. And it looks like I’ll be taking on a lot more responsibility. Basically, I’m going to run my department solo, which is both a little frightening and also very exciting!
But it got me thinking about my wardrobe, and how I felt about this next career step being kinda big. And how I need clothes that are a bit more professional.
So I decided to change things up a little in my closet and rearrange my sewing plans to focus on pants, jackets, blazers and skirts.
And the first pattern on this “memade business casual wardrobe”-adventure is the V1620 from Vogue Patterns: An unlined jacket with bias bound seams and palazzo pants with boning in the waist. What an awesome pattern to begin with!
In this pattern review, I’ll cover:
Pattern facts
The buying process
Assembling the pattern
Finding the right fabric
Understanding the instructions
Modifications
The end result
Overall impression of this pattern
Well then - let’s get started!
Pattern facts
Designer: Tom and Linda Platt for Vogue Patterns
Design name: V1620
Pattern type: Paper
Size range: 6-14
Is seam allowance included: Yes, 1.5 cm SA is included
Difficulty level: Intermediate

The buying process
You can buy Vogue Patterns from many websites, though only as paper patterns.
I got mine from the website toppatterns.dk, which sells all Big 4 across Europe. It was a straightforward experience getting the pattern - though the delivery took almost 10 days (which is a lot when shopping from within the EU).
Included in the pattern booklet is:
Pattern pieces for the jacket, top (which I haven't made yet) and pants
Measurements for each garment and information on which supplies you’ll need
Assembling the pattern
Well, this header isn’t doing the work justice, because with a printed pattern like this, you actually have to trace off your size from the paper to pattern paper and then cut it. You could also just cut the size you need, but I’d rather preserve the original in case my body changes in the future and I need a different size.
I don’t mind tracing from a paper pattern, and this time I even found it a little refreshing from assembling a printed pdf-pattern. It takes a while, though, and I definitely recommend using a ruler to make sure you get the lines just right.
Finding the right fabric
Well, this was actually way more difficult for me than usual.
Like I wrote earlier, my memade wardrobe isn’t that business oriented, and I’ve mainly sewn dresses before.
The instructions said to use crepe, jersey or satin back crepe for the main fabric and charmeuse for the lining. I went with a beautiful blue crepe and black charmeuse (though it could have been fun with a contrasting colour for the lining).
Understanding the instructions
I was worried that it would be difficult to understand how to sew these pieces together. Especially the jacket, since it’s a more technically challenging garment - and I had never done bias bound seams before.
To my surprise, I actually found it fairly easy to understand the instructions, but I think it’s because I’ve tried most of the techniques for this pattern before. The instructions definitely aren’t as thorough as some of the smaller indie designers’ out there.
Modifications
For a while I put off starting this pattern, because I was very confused about the sizing. I’ve read multiple places that Vogue patterns tend to run big, and I didn’t want to end up looking like a child in grownups’ clothes (which can happen when you’re petite like me).
I could have made a toile first, but I decided to go for it and cut a size 10, which matched my measurements the most (they are: B: 84, W: 64, H: 92 cm).
Since I’m not that tall (160 cm), I knew I had to shorten everything for it to fit. I took off 15 cm on both the pants and jacket pattern, based on the finished garment measurements on the booklet. The 15 cm were perfect for the pants, but I’m afraid it was a bit much on the jacket. I feel like it got a little short.
I also ended up taking in the pants 4 cm at the waist. I tried them on before sewing on the facing with boning, and they were just too loose. When I walked around, they would slide down.
But after taking in the pants 2 cm at each side seam they fit perfectly, and the boning holds them in place nicely.
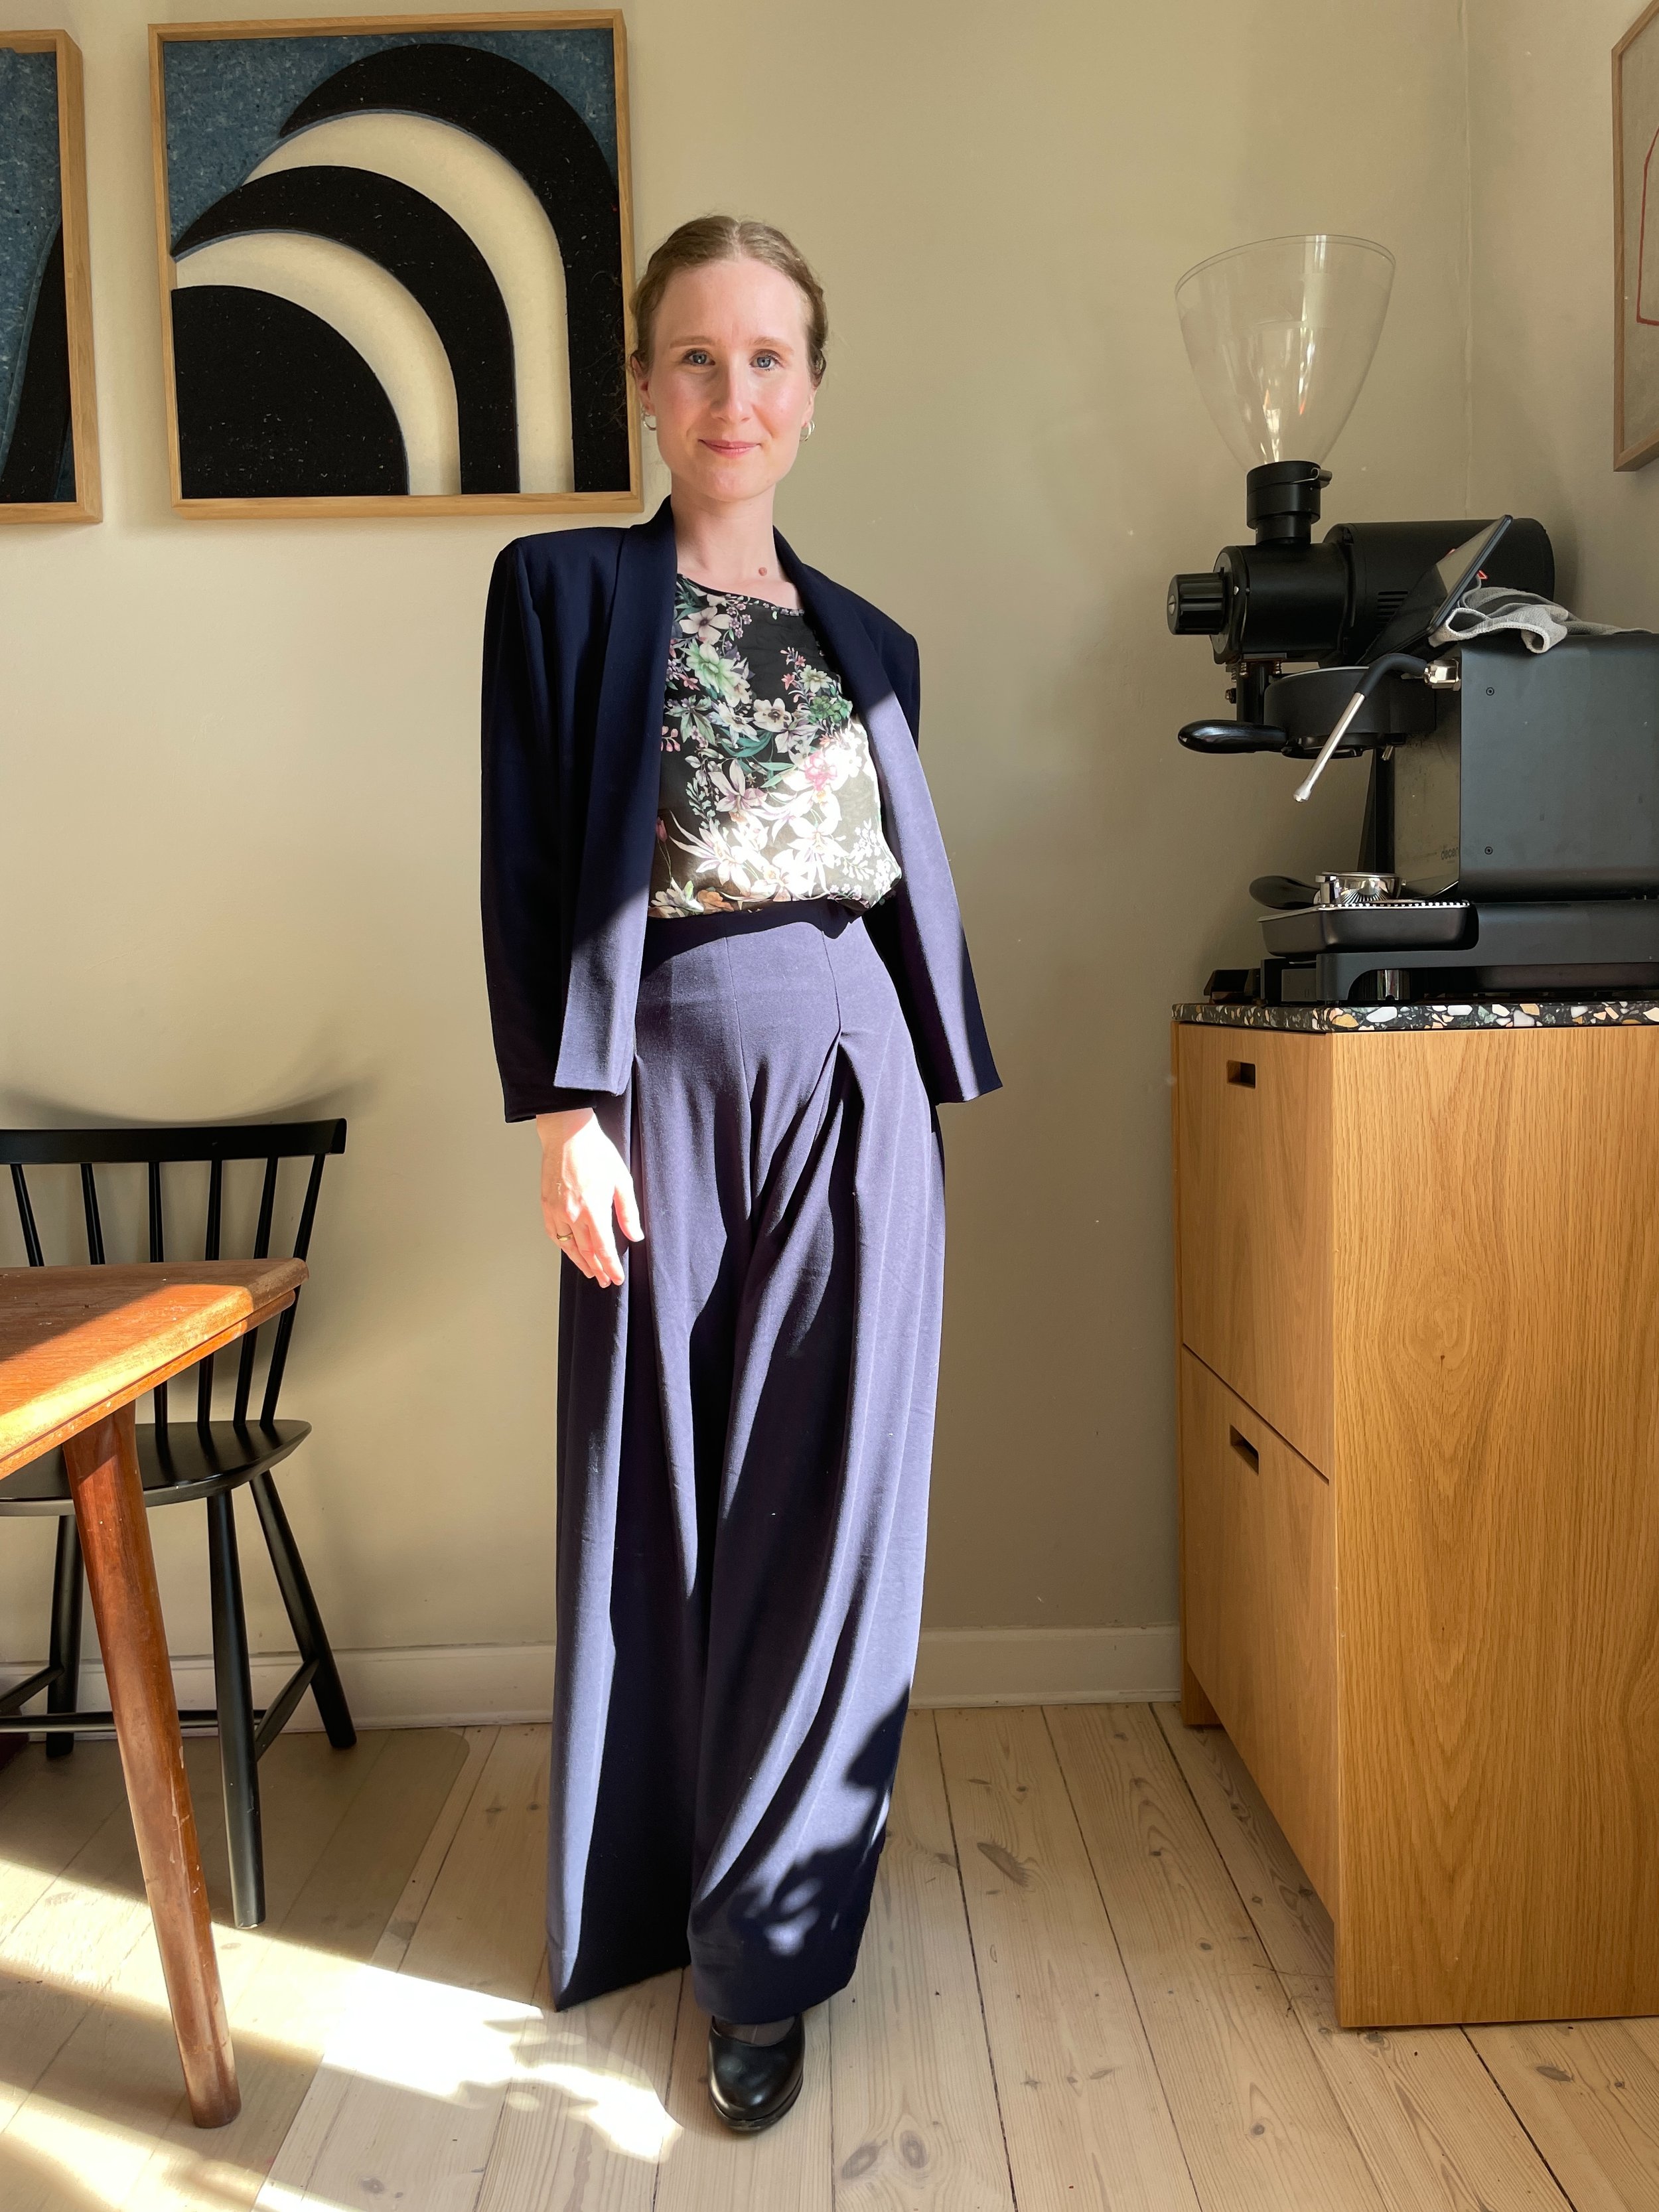
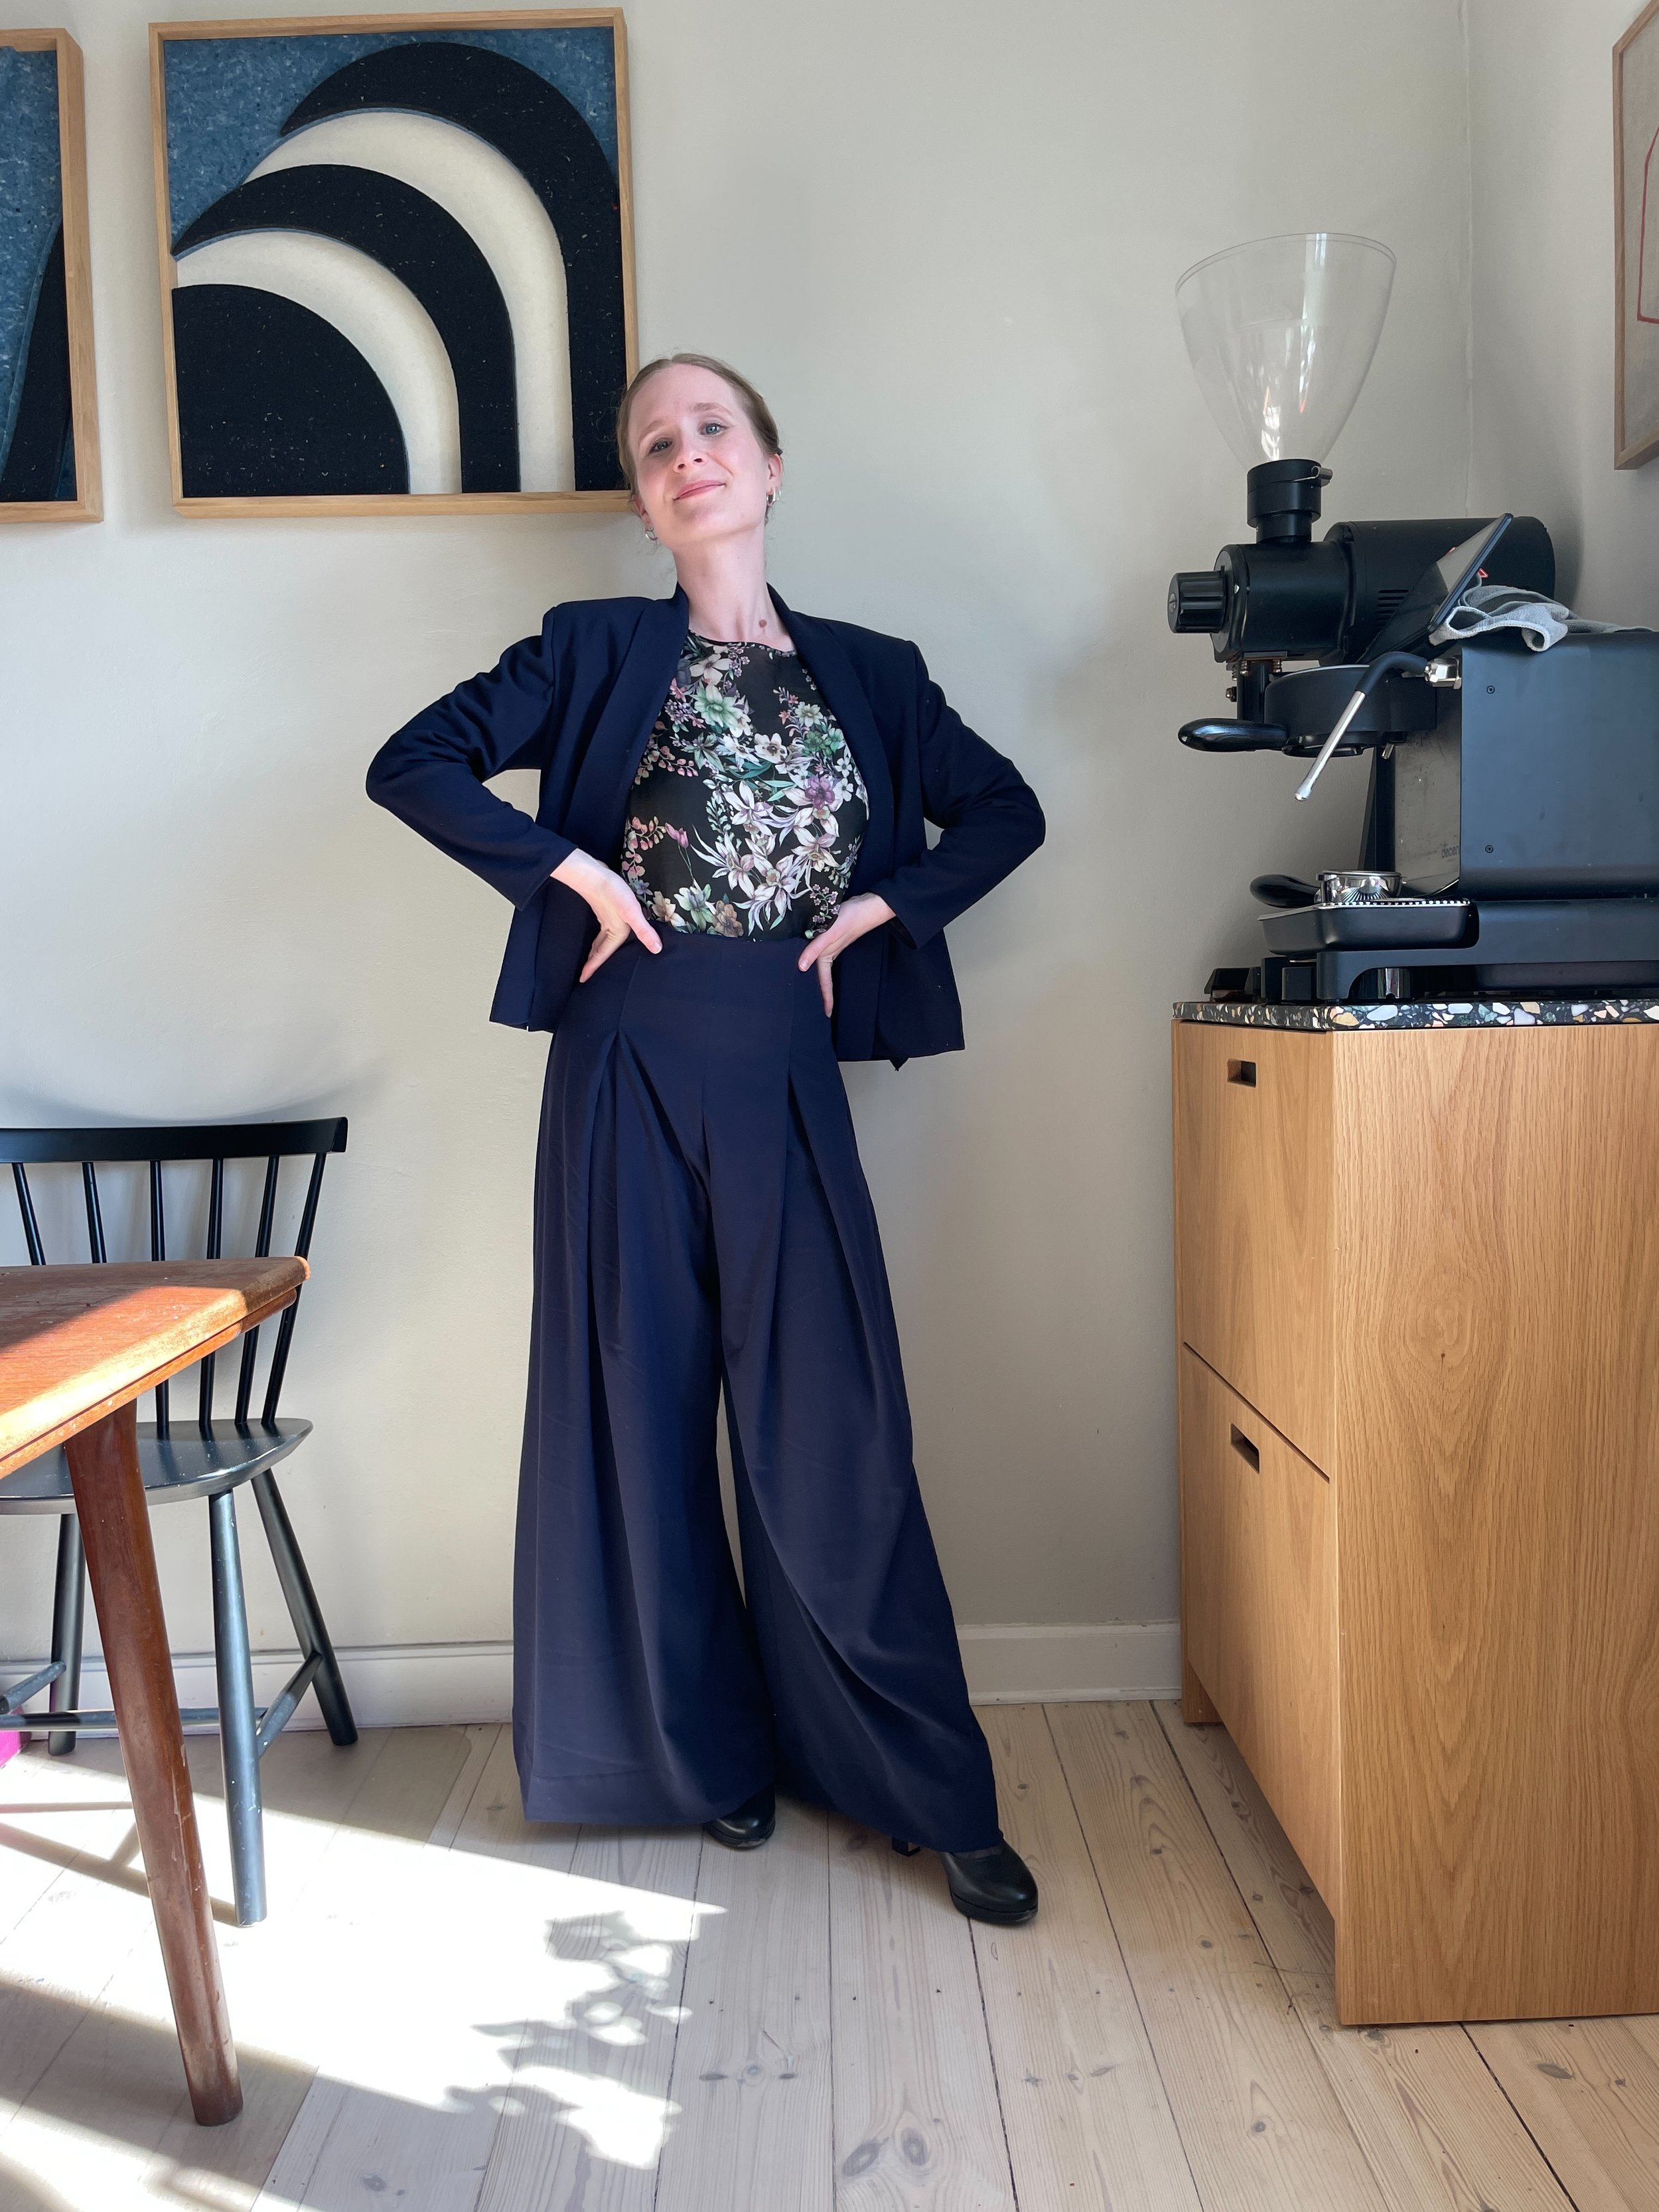
The end result
I’m honestly so proud of this set! The unlined jacket with bias bound seams is stunning inside out, and the pants make such a statement while still being business appropriate.
If I were to make this again, I would lengthen the jacket by 5-7 cm and maybe play with a contrasting color for the bias tape. Otherwise I’m so happy with how this turned out.
I learned a lot of cool stuff (how to work with boning and bias bind seams), and I’m sure I’ll be ready to take on more responsibility at work wearing this memade power suit!