Ashling dress and blouse
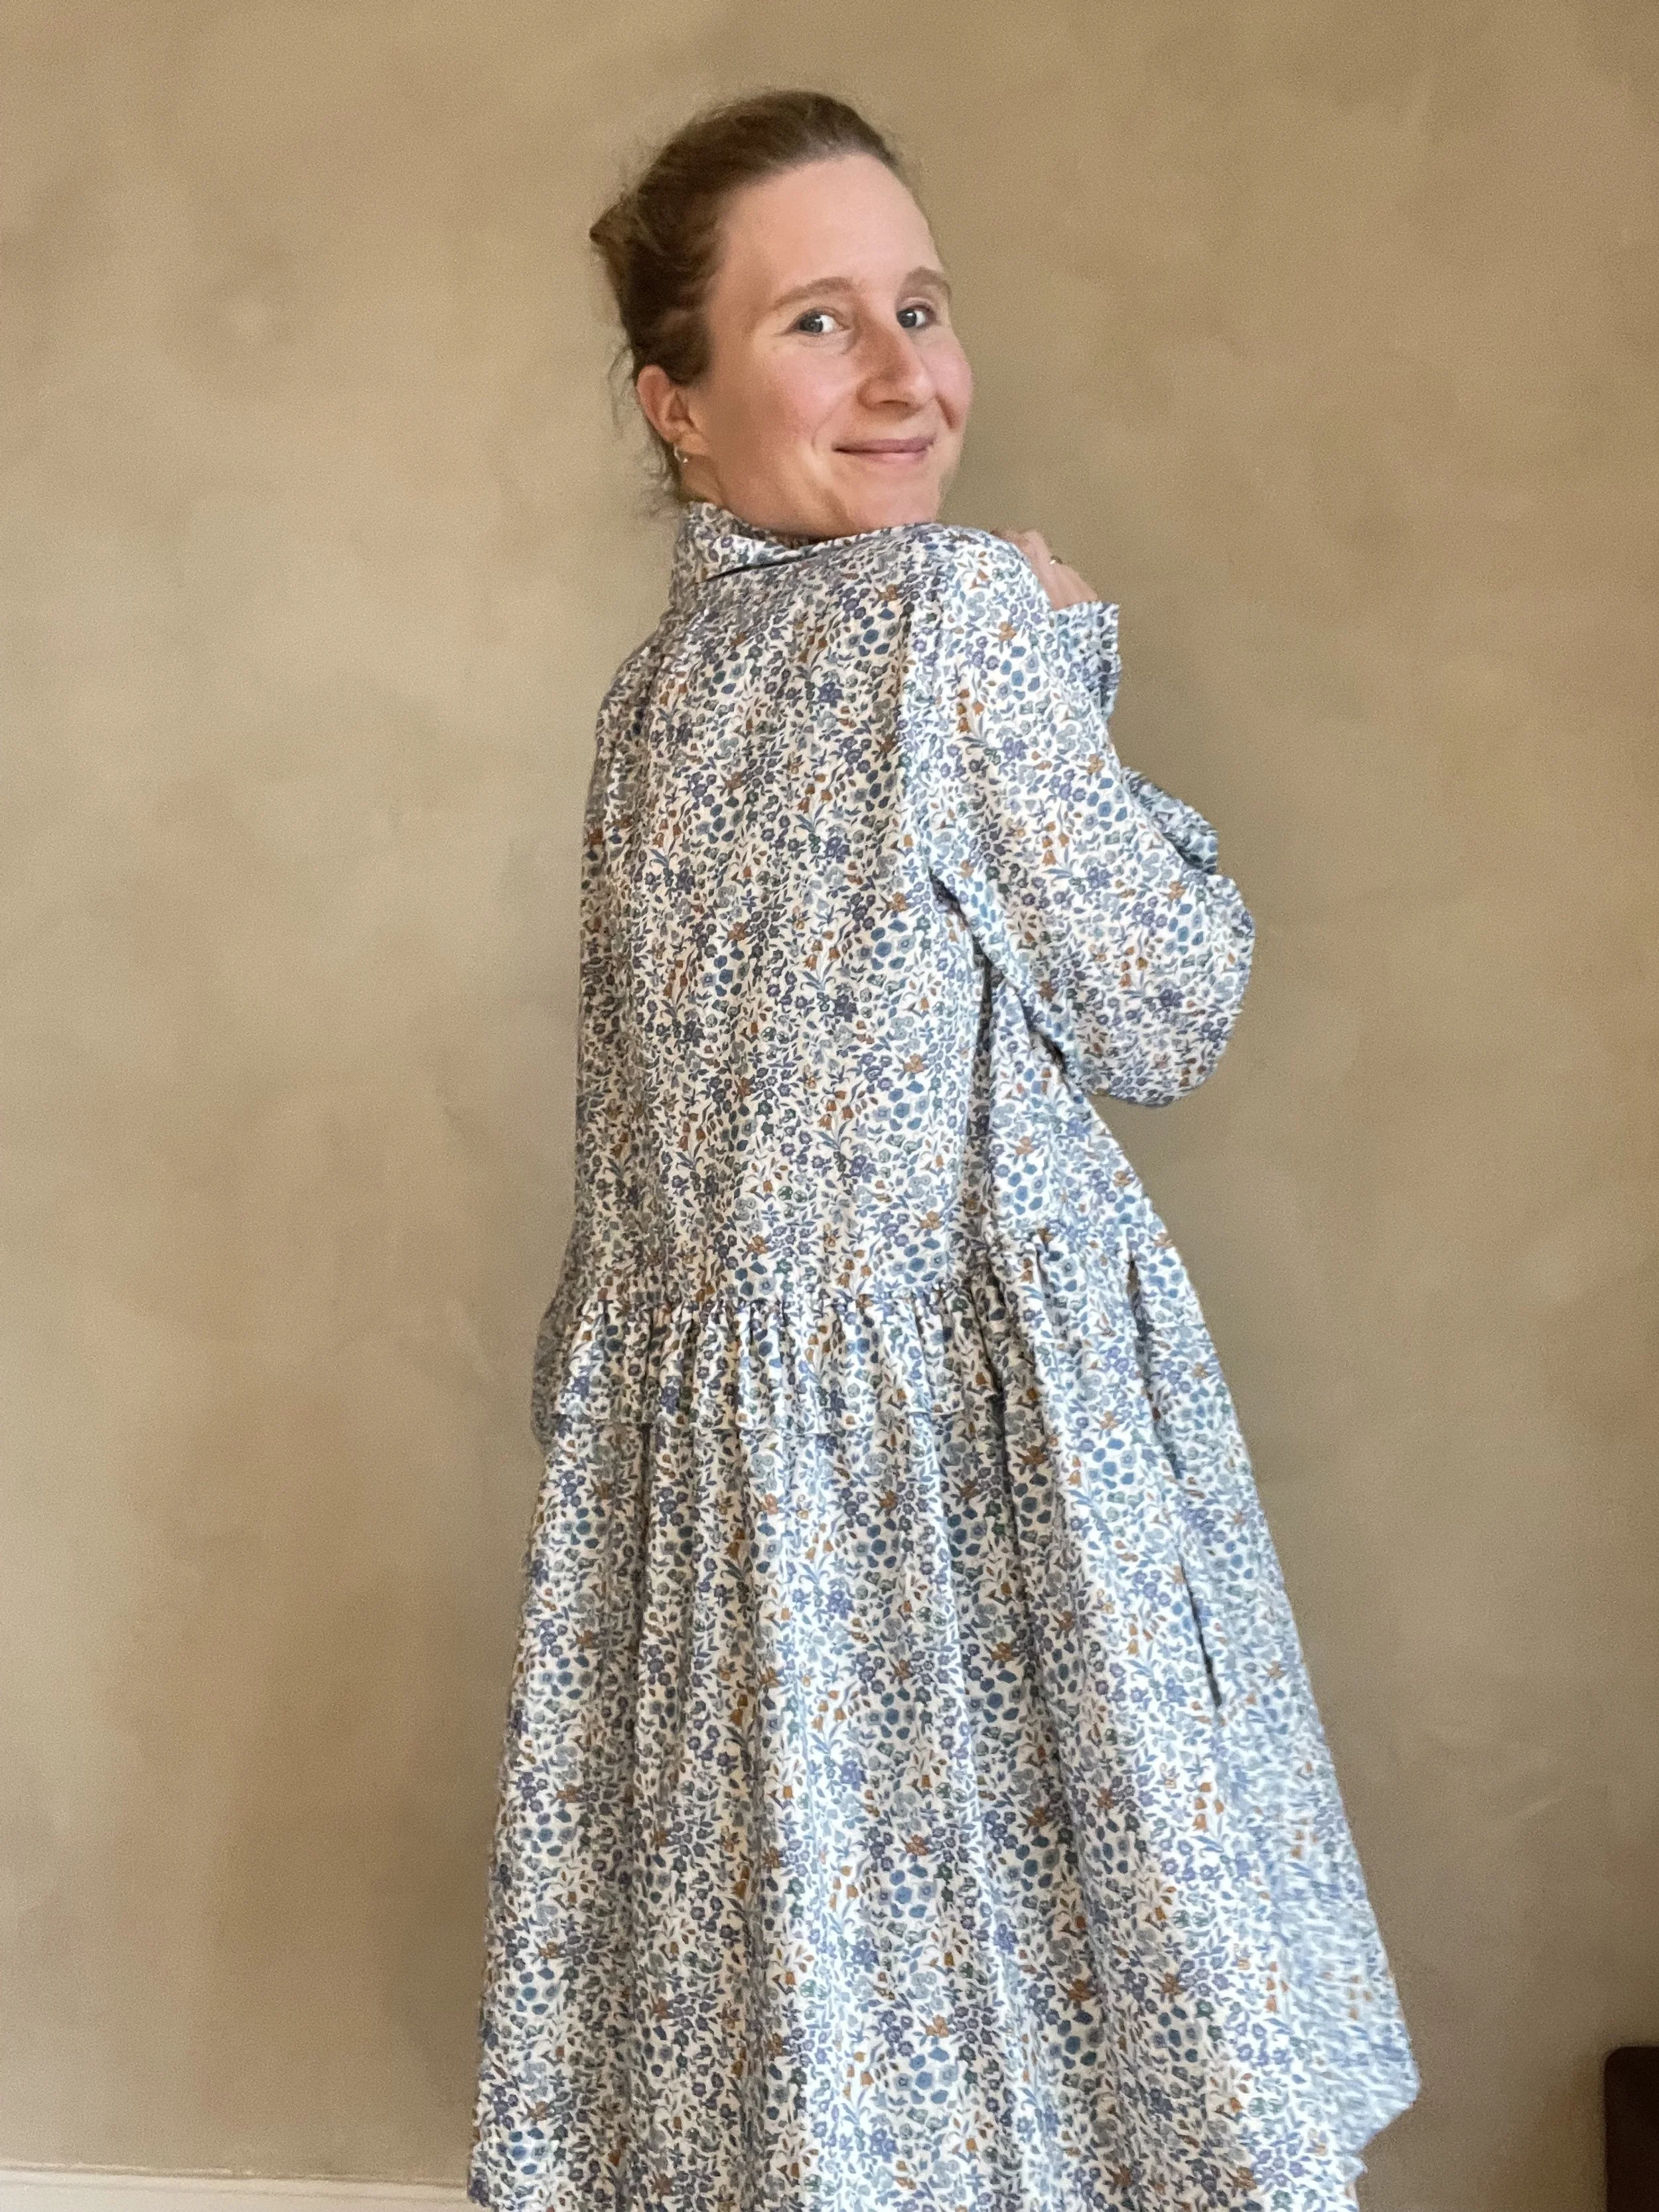
One of my absolute wardrobe favorites: The Ashling dress by Papercut Patterns
I’m going to let you know right away: I loooooove this pattern!
There’s no need to read all the way through to figure out whether I like it or not. I really do.
But please read on, if you’d like to find out why I love this pattern so much. I promise to get into all the details!
As always, this is what I’ll cover in my pattern review:
Pattern facts
The buying process
Assembling the pattern
Finding the right fabric
Understanding the instructions
The end result
Overall impression of this pattern
Pattern facts
Designer: Papercut Patterns
Design name: Ashling Blouse/Dress
Pattern type: Digital PDF
Size range: Papercut Patterns size range 1-8 (approx size 6-20 NZ&UK)
Is seam allowance included: Yes, 1 cm SA is included
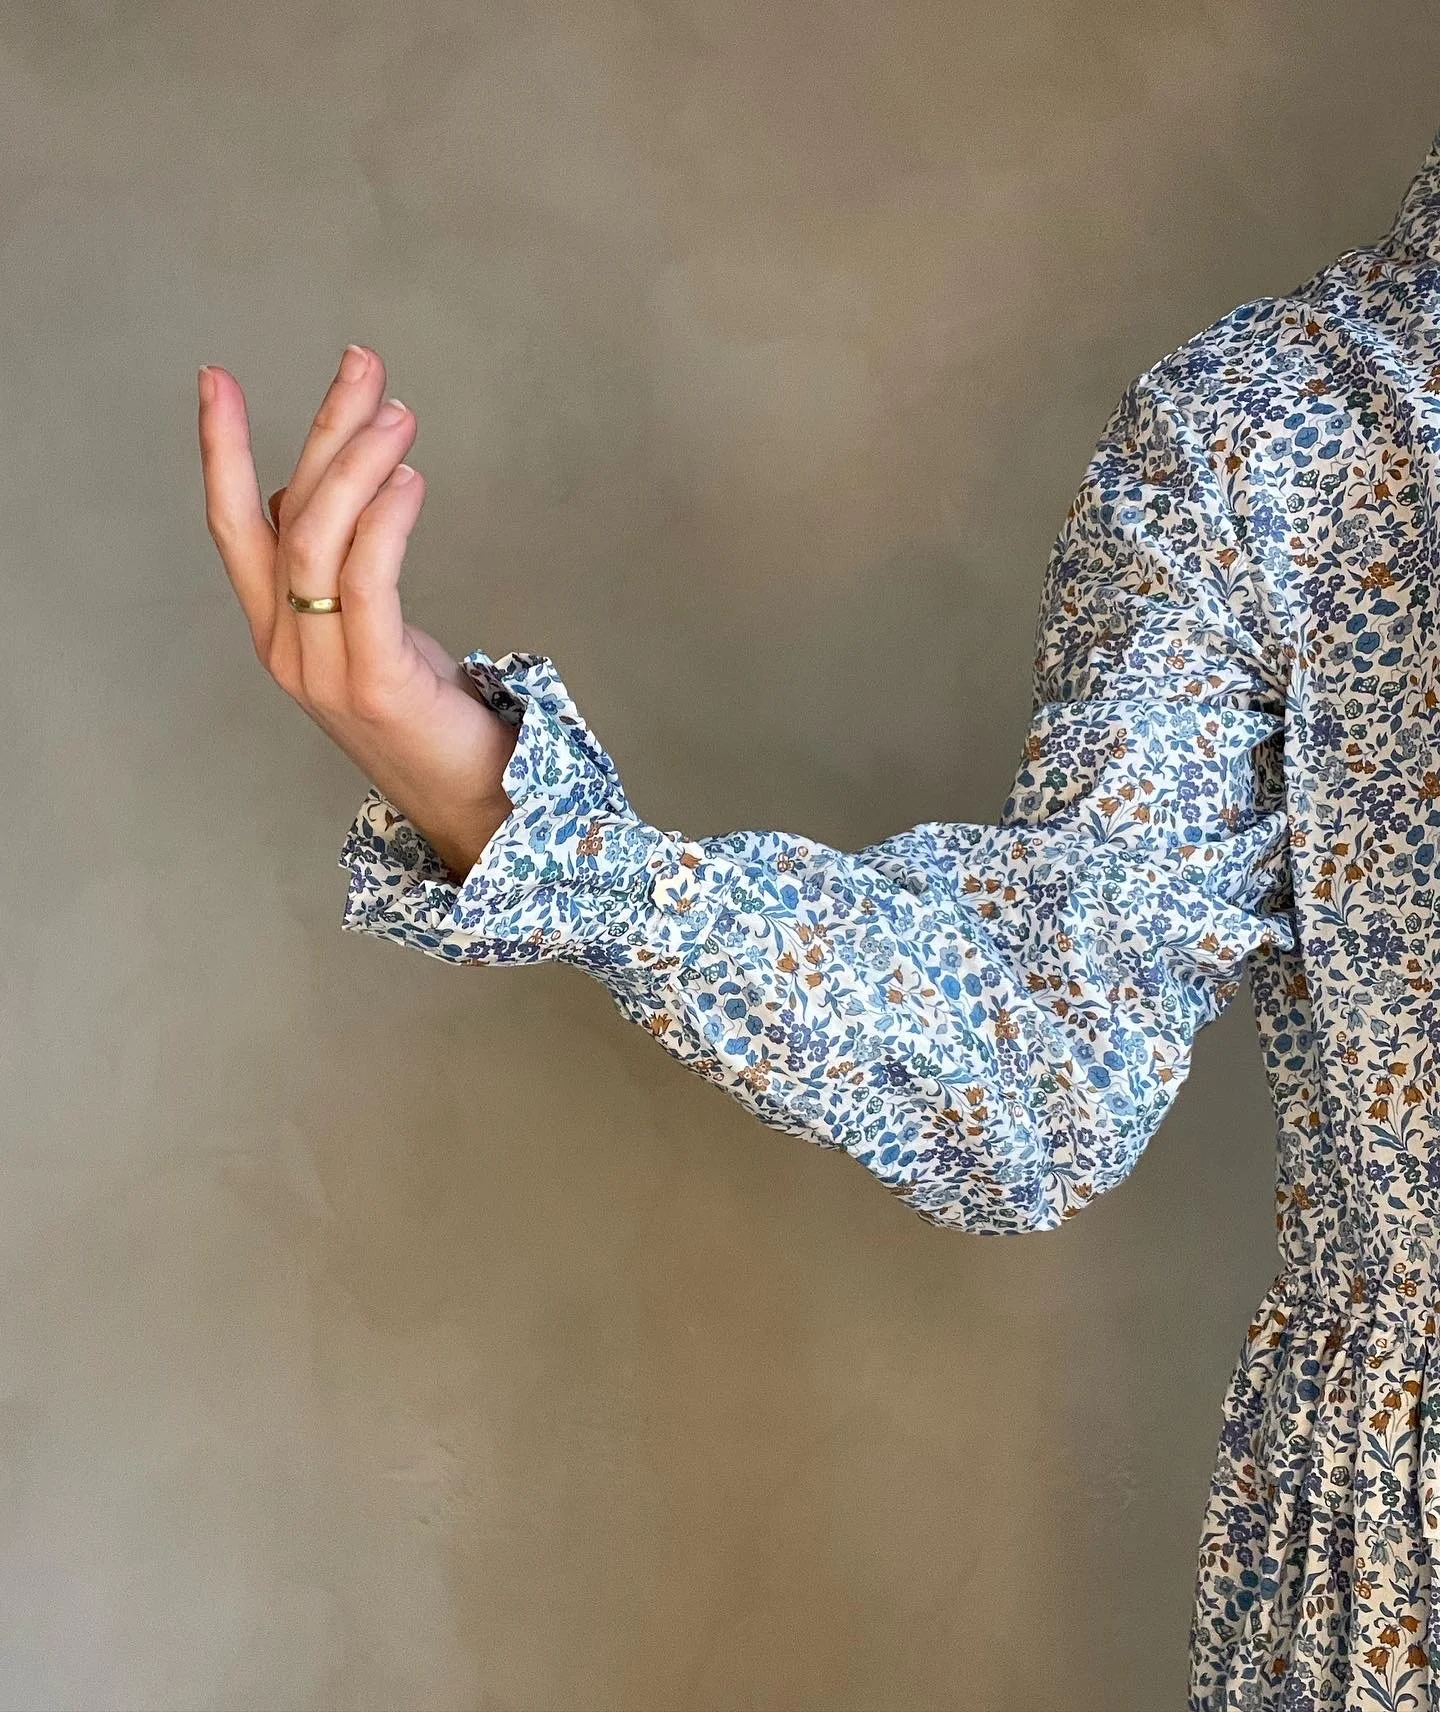
Such a stunning sleeve!
The buying process
I found Papercut Patterns on Instagram, and I’ve been following them for a while. Generally, I love their designs and aesthetics, so deciding which pattern to buy was the hardest part of the buying process for me.
What can you do, except buy 3 patterns all at once?! Beside the Ashling pattern, I bought the Stacker Jacket and the Nova Coat. Still haven’t gotten around to sewing those two (sadly), but they are high on my to-sew list!
As for the buying process itself, everything was easy and without trouble. I went to the Papercut website and tried not to buy everything on there, and after deciding which patterns I wanted, I simply went to the checkout, paid with my card and received an email confirmation.
About 2 minutes later I received another email with the link for the downloadable patterns, and there they were!
Included in the purchase is:
A screen friendly AND a print friendly instruction booklet
PDF pattern in A4, A0 and a large format
Printing instructions
I think it tells a lot about Papercut Patterns and their attention to detail, that they include both a print and screen friendly instruction booklet.
Also: It’s been a couple of months since I bought these patterns, but the download link I received per email still works. This is awesome in case I’ve missed something the first time I downloaded the patterns.
Assembling the pattern
This time I splurged and printed the pattern in A0 via a copy shop. This was a little expensive, but the joy of cutting out the pattern without having to assembling everything first feels like such a luxury.
I have printed other Papercut Patterns at home, though, and their cutting layout is perhaps my favourite. You simply cut the corners of the paper and match up the lines, since everything is printed within a frame. It makes it much faster than other layouts I’ve tried.
Finding the right fabric
Yay, we love this part! At least I do.
In the instructions it says “Light to medium weight woven fabrics (Cotton, Linen, Silk, Rayon or blends).” Very clear fabric recommendations, but also a lot to chose from.
The design is oversized with frill details at the cuffs and around the waist (I opted for the standard collar). I didn’t want the fabric to steal attention from the details, but I had this vision of a flower print in soft colors.
And when you want flowers, Liberty Fabrics always have something interesting.
So, I went to the nearest fabric store that sold Liberty and got myself the most beautiful Tana Lawn (a soft, light cotton).
It was a joy to iron, cut and sew with. I’ve never worked with Liberty Tana Lawn before, but I’m certain it’s not the last time it enters my sewing space!
Understanding the instructions
Once again, Papercut Patterns nail it.
The instructions are well written with great illustrations. As you can see from the picture below, the instructions cover everything you need to know to make this pattern.

You get the measurements in metric and imperial, cutting layout, detailed instructions for each step of each design version, a glossary, and notes.
There’s even a (beautiful) page telling you when you’re halfway through!
Papercut Patterns classify this pattern as intermediate, and I would agree because of the techniques (eg sewing a collar and the frill cuffs). But if you’re an adventurous and confident beginner, I’d say go for it! Everything is so well written and beautifully illustrated, I’m certain you’ll get through.
The end result
Have you guessed it already? I love it!
The first time I made this pattern, I chose the dress version with the standard collar and a waist frill.
But I actually loved the pattern so much that I also made a cute cropped blouse version from some thrifted viscose, I had in my stash.
I sewed the dress in size 2, but decided to make the blouse size 1, since it was almost too oversize for my taste. For the blouse I also shortened the sleeves by about 5 cm to reduce fabric at the wrist and make the beautiful sleeve stand out more.
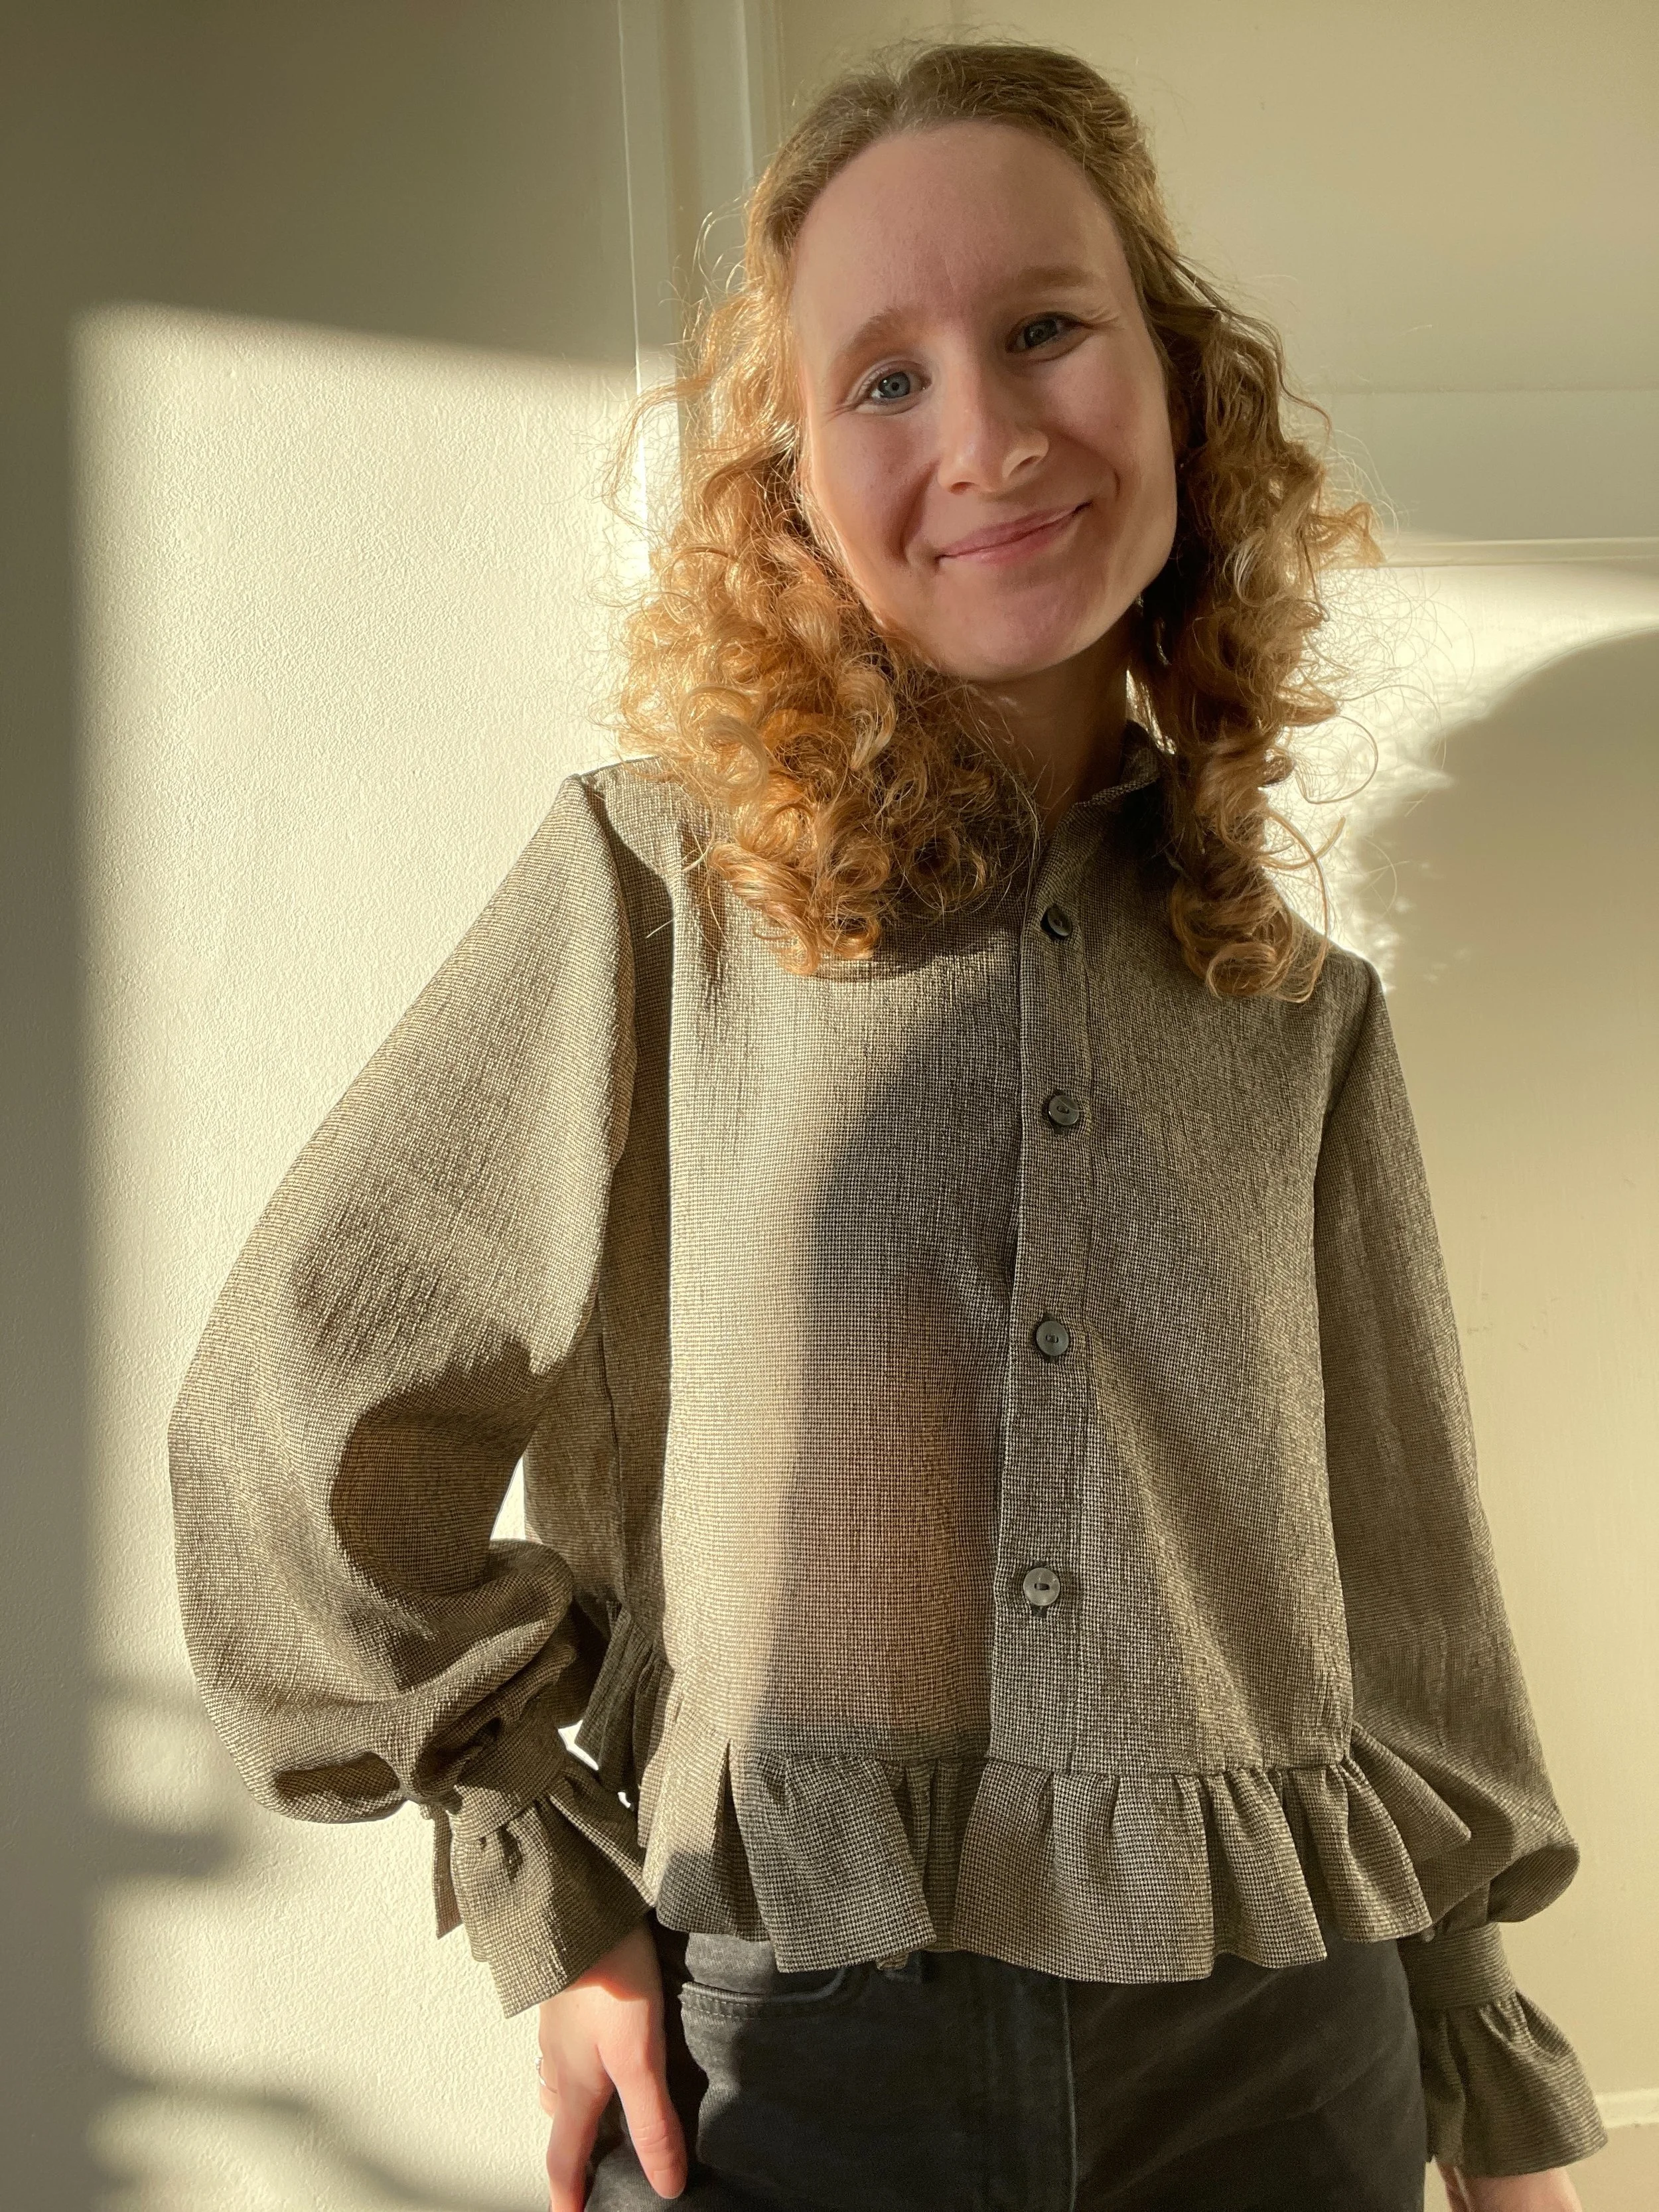
Cropped Ashling blouse in thrifted viscose
I really feel that this is a versatile pattern, that matches my wardrobe extremely well. I love the fit, the design and it’s such a fun make.
Overall impression of this pattern
It’s not a lie when I call Ashling one of my absolute wardrobe favorites!
The dress is both work appropriate and great for parties! And the blouse is so cute with a pair of high waisted jeans or a tight skirt.
I still haven’t made the long shirt version with the victorian frill collar, but I definitely think my wardrobe needs that. Maybe in a soft pink or purple viscose?
I’m not done with Ashling, what a great pattern!